Purchasing a new television ought to be enjoyable. Transitioning from an older model to a newer one brings about excitement because of the anticipation for improved picture and audio quality when enjoying your preferred films and series.
However, what if upon getting the television home, setting it up, and realizing it doesn’t appear as you had envisioned? Do not fret, for you are not the only one who has gone through this.
A multitude of lesser-known settings that impact a television’s performance are tucked away within its menu options. This holds true for both affordable models and high-end ones alike.
best TVs
have several of these irritating options.
Although TV picture settings tend to be personal preferences—with some individuals opting for a brighter, more vibrant display and others favoring a more natural look—there are certain configurations that should always be disabled irrespective of taste. In the list below, I have selected six crucial tweaks that people frequently overlook during the setup process of their new television. Drawing from my experience working in audiovisual retail, I recommend:
know
It might take some individuals quite some time to realize this. However, have no fear as I will explain how to modify these settings for you.
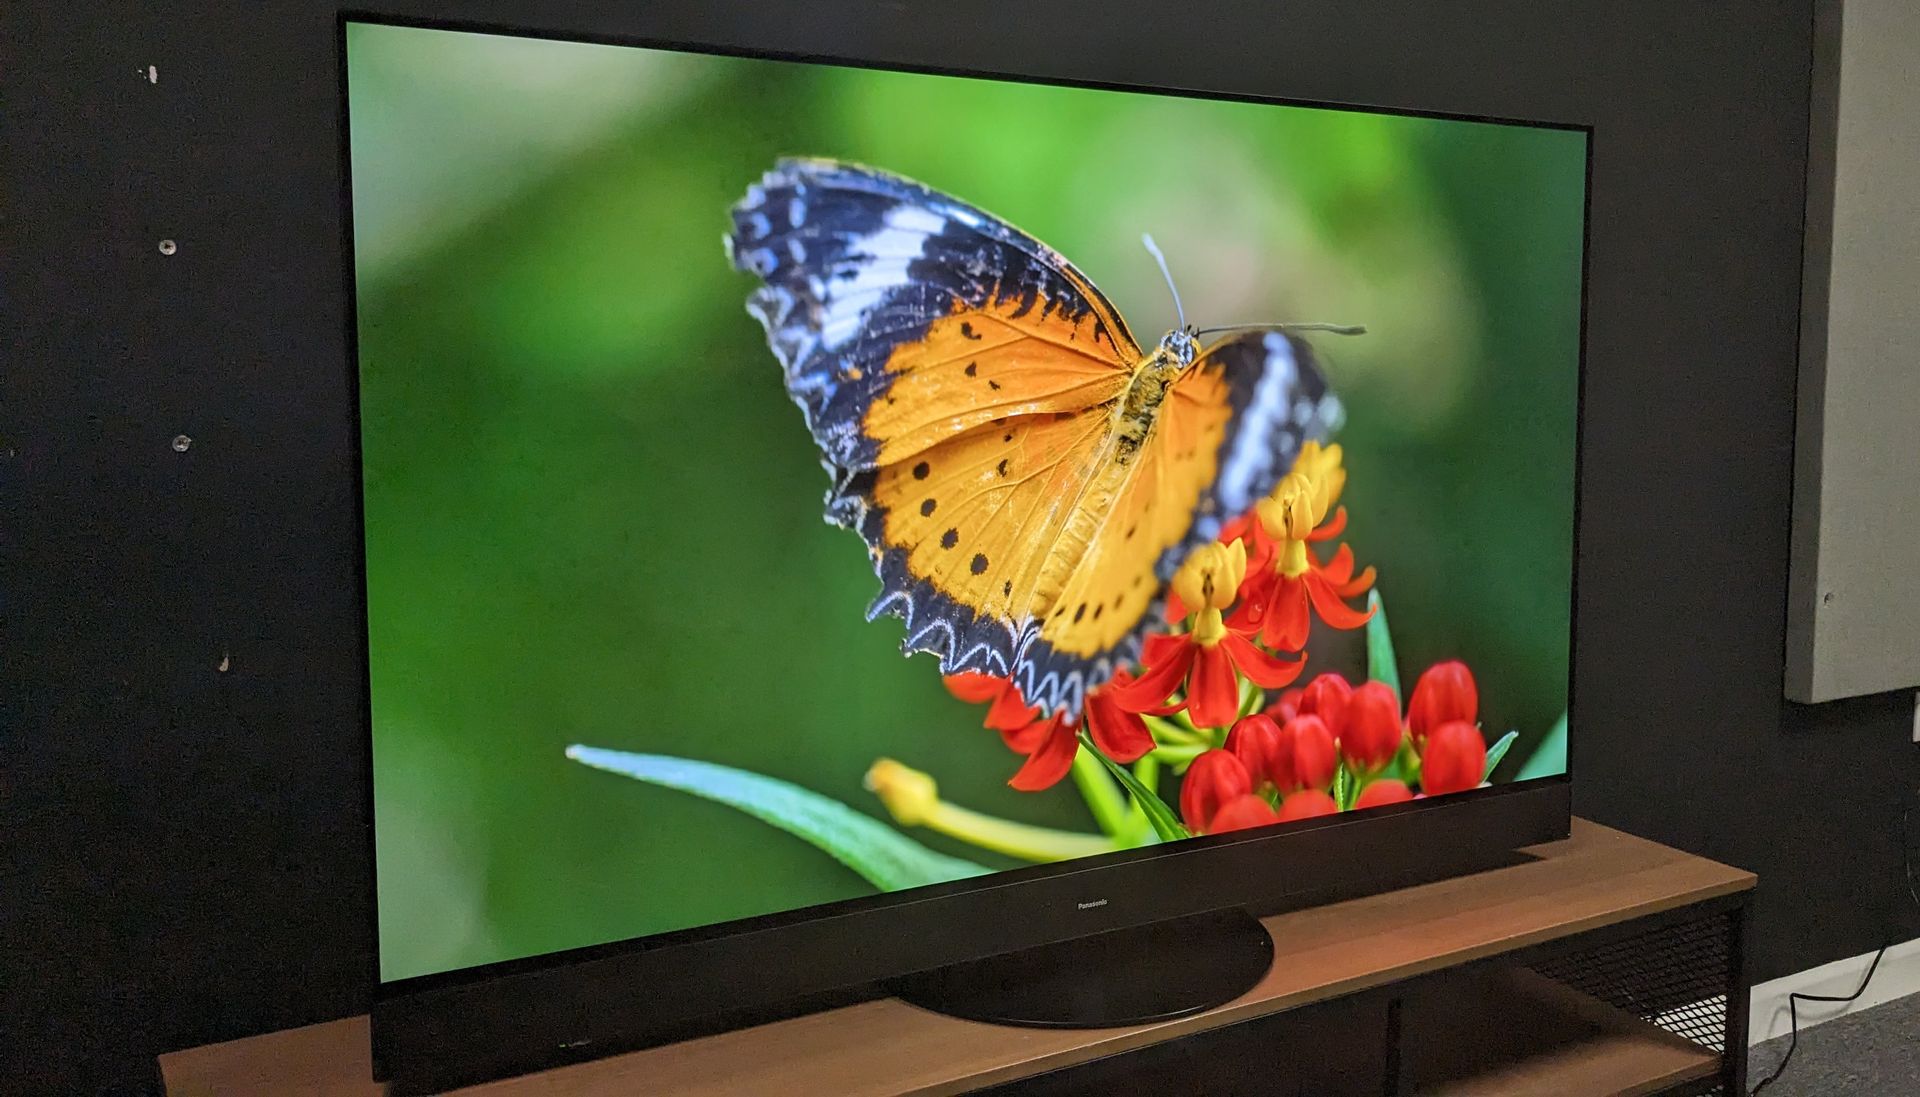
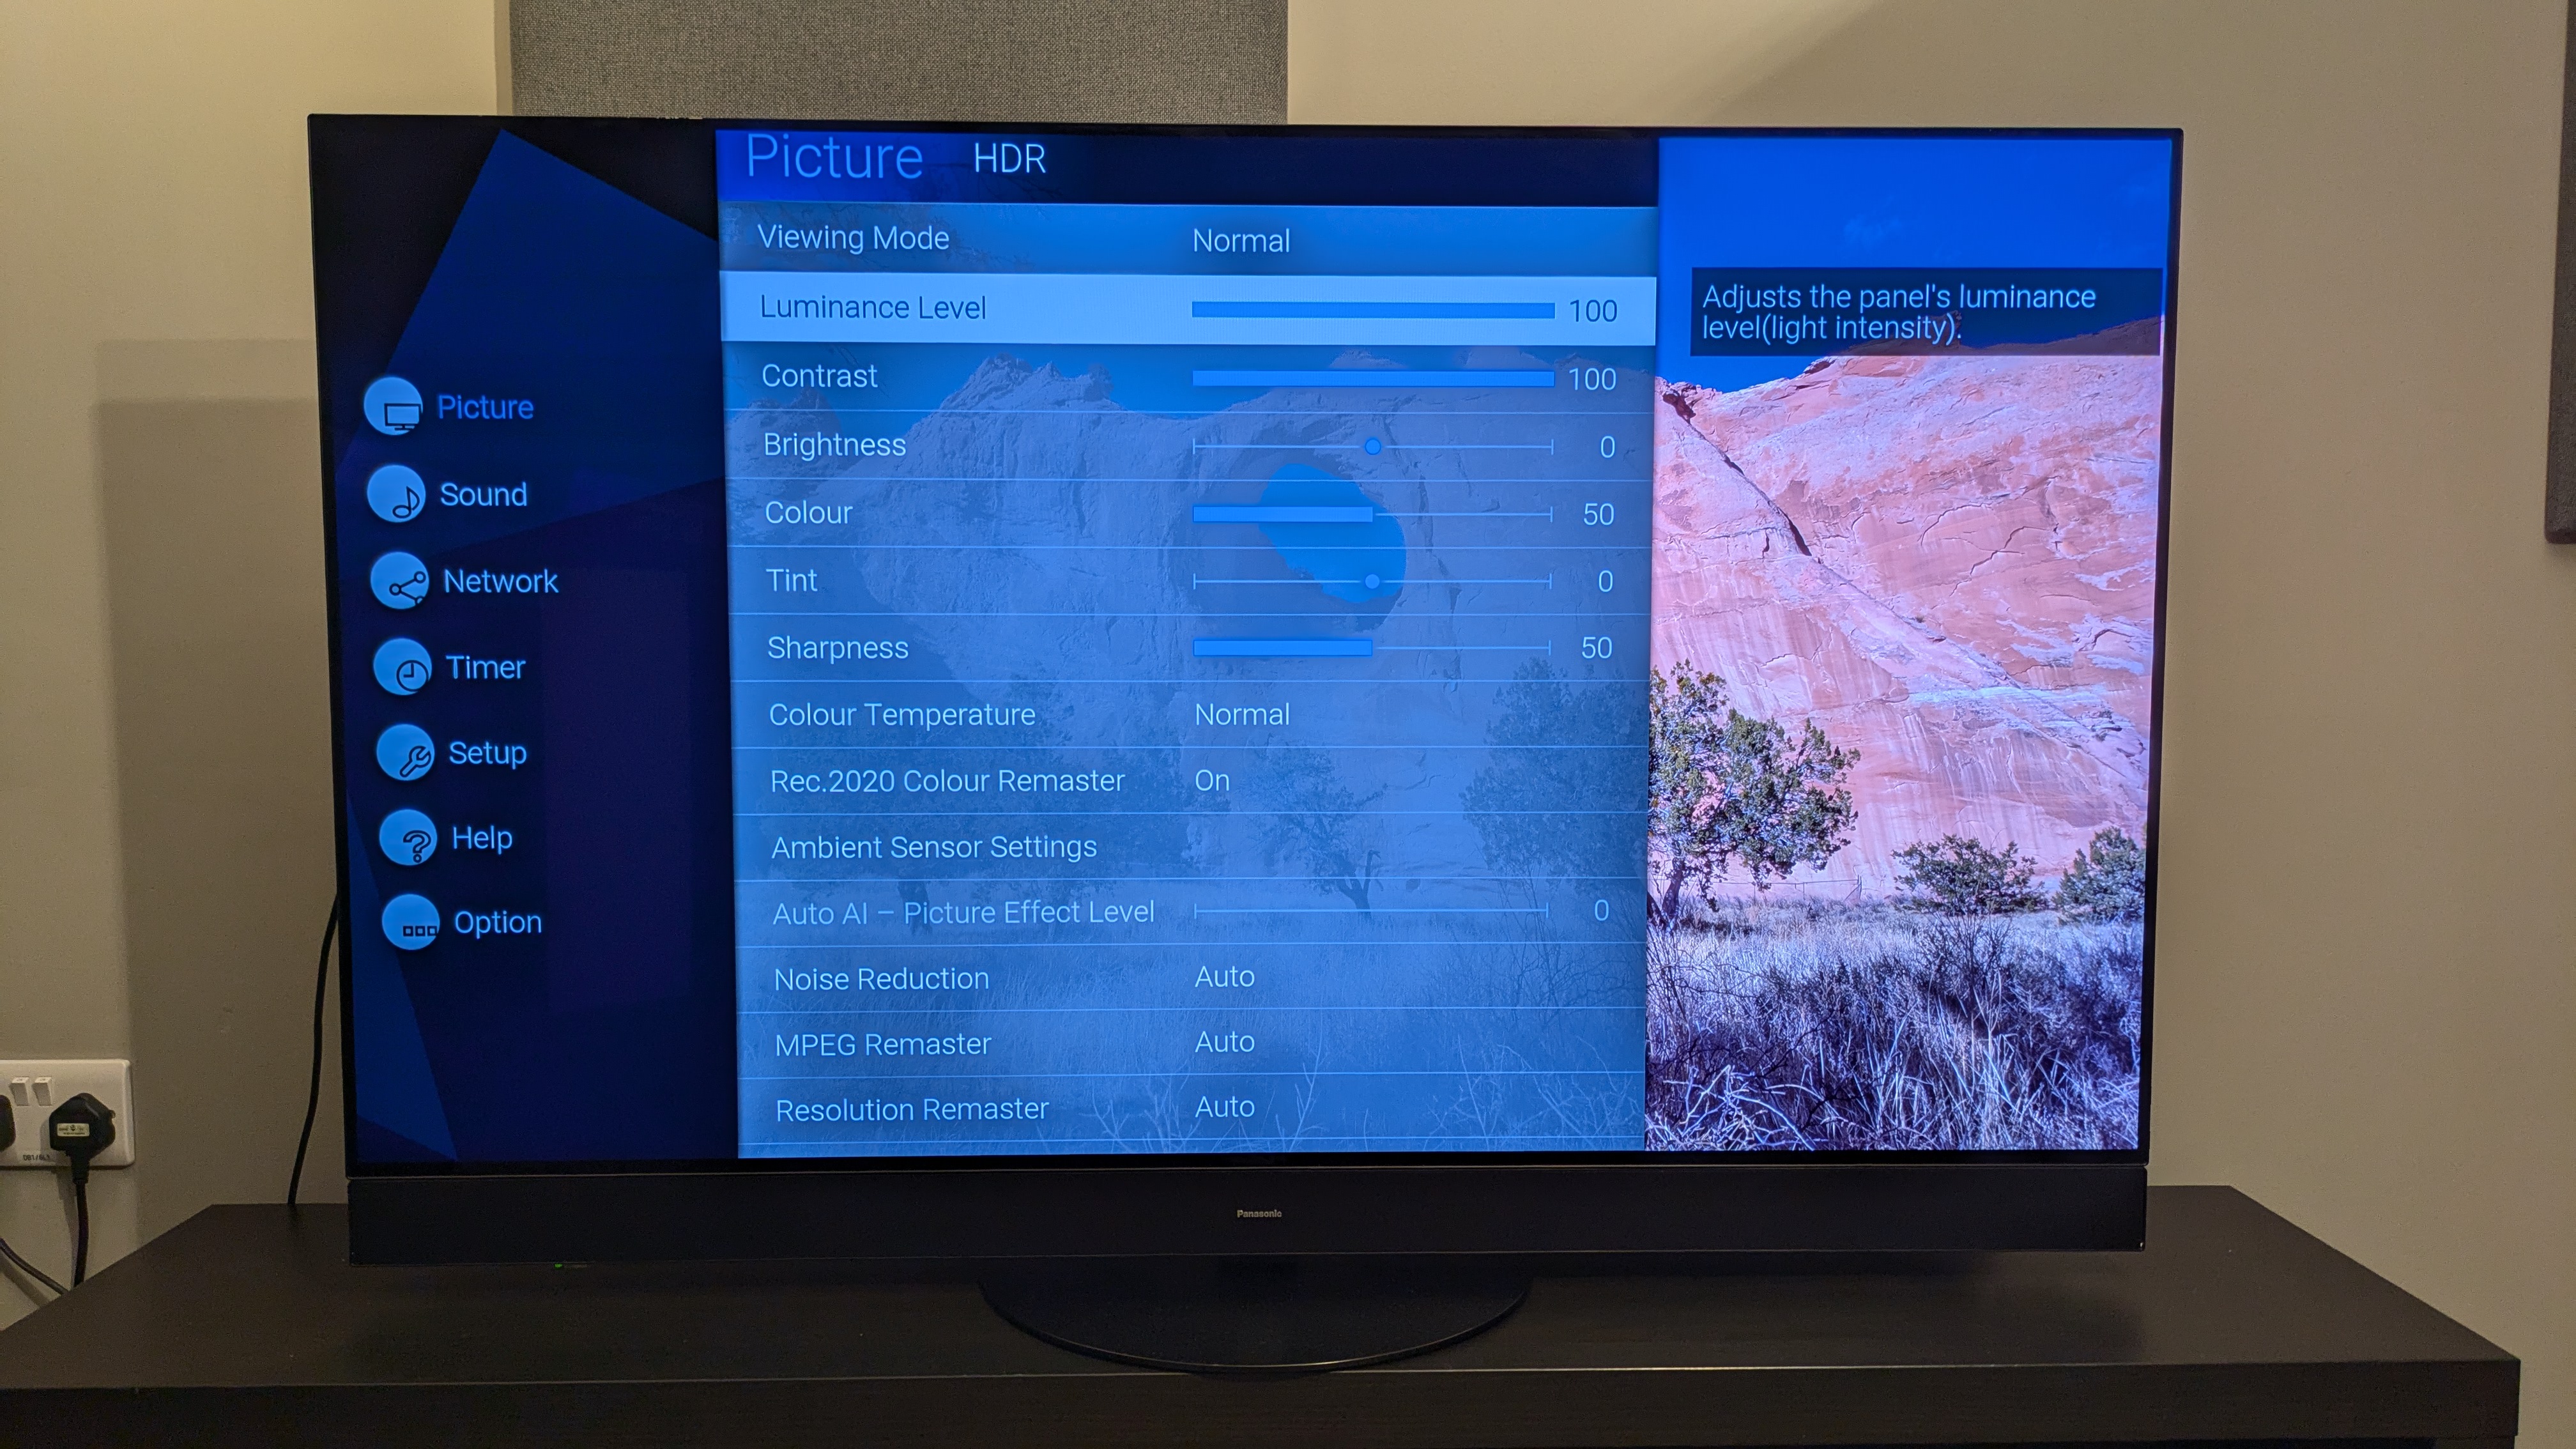
For images, I utilized the
Panasonic MZ1500 OLED
Even though the menu on your TV might appear differently, the underlying concept should remain consistent.
Disable Eco and Power Saver modes.

Were you able to set up your new television only to find it seemed somewhat lackluster? This might be due to the Eco mode. Most televisions come from the factory with their settings configured for Eco mode as standard. While this can help reduce electricity bills, it may also diminish the visual quality of what you’re watching.
The eco mode frequently features very dim settings that can strip away vibrant colors and details from your television’s image, causing movies and TV series to appear dull. If you wish to disable this feature, head over to the Settings menu and select Picture Settings. Within this section, you’ll find a selection of Picture Presets (or sometimes called Picture Modes), typically with one option labeled as Eco. It would be best to switch this setting to either Movie, Filmmaker, or Standard since these options generally offer more precise and higher-brightness display modes.
Several televisions also include additional energy-conserving options that might not be readily visible. To access them, go to the Settings menu followed by System Settings; look for sections named Power Savings or Energy Efficiency. Although many of these settings usually involve time-based adjustments, they could occasionally contain an option aimed at reducing power consumption that should be disabled.
Switch the television from Dynamic or Vivid Picture mode.
The Dynamic (often referred to as Vivid) picture setting on TVs usually delivers poor image quality similar to the Eco mode. It tends to be highly inaccurate, which isn’t something we endorse over at SofTech. WhileDynamic mode does provide increased brightness, it also leads to overly saturated hues and intensified textures, resulting in an artificial appearance. To ensure your films and television series appear lifelike, steer clear of using this mode altogether.
Companies such as Samsung previously relied heavily on the Dynamic mode, however, newer models like the
Samsung S95D
In 2024, their premier OLED model is the
Samsung QN90D
, one of the
best mini-LED TVs
,, they appear much more appealing in their Filmmaker, Movie, and even Standard settings.
Look for the most recent software update.
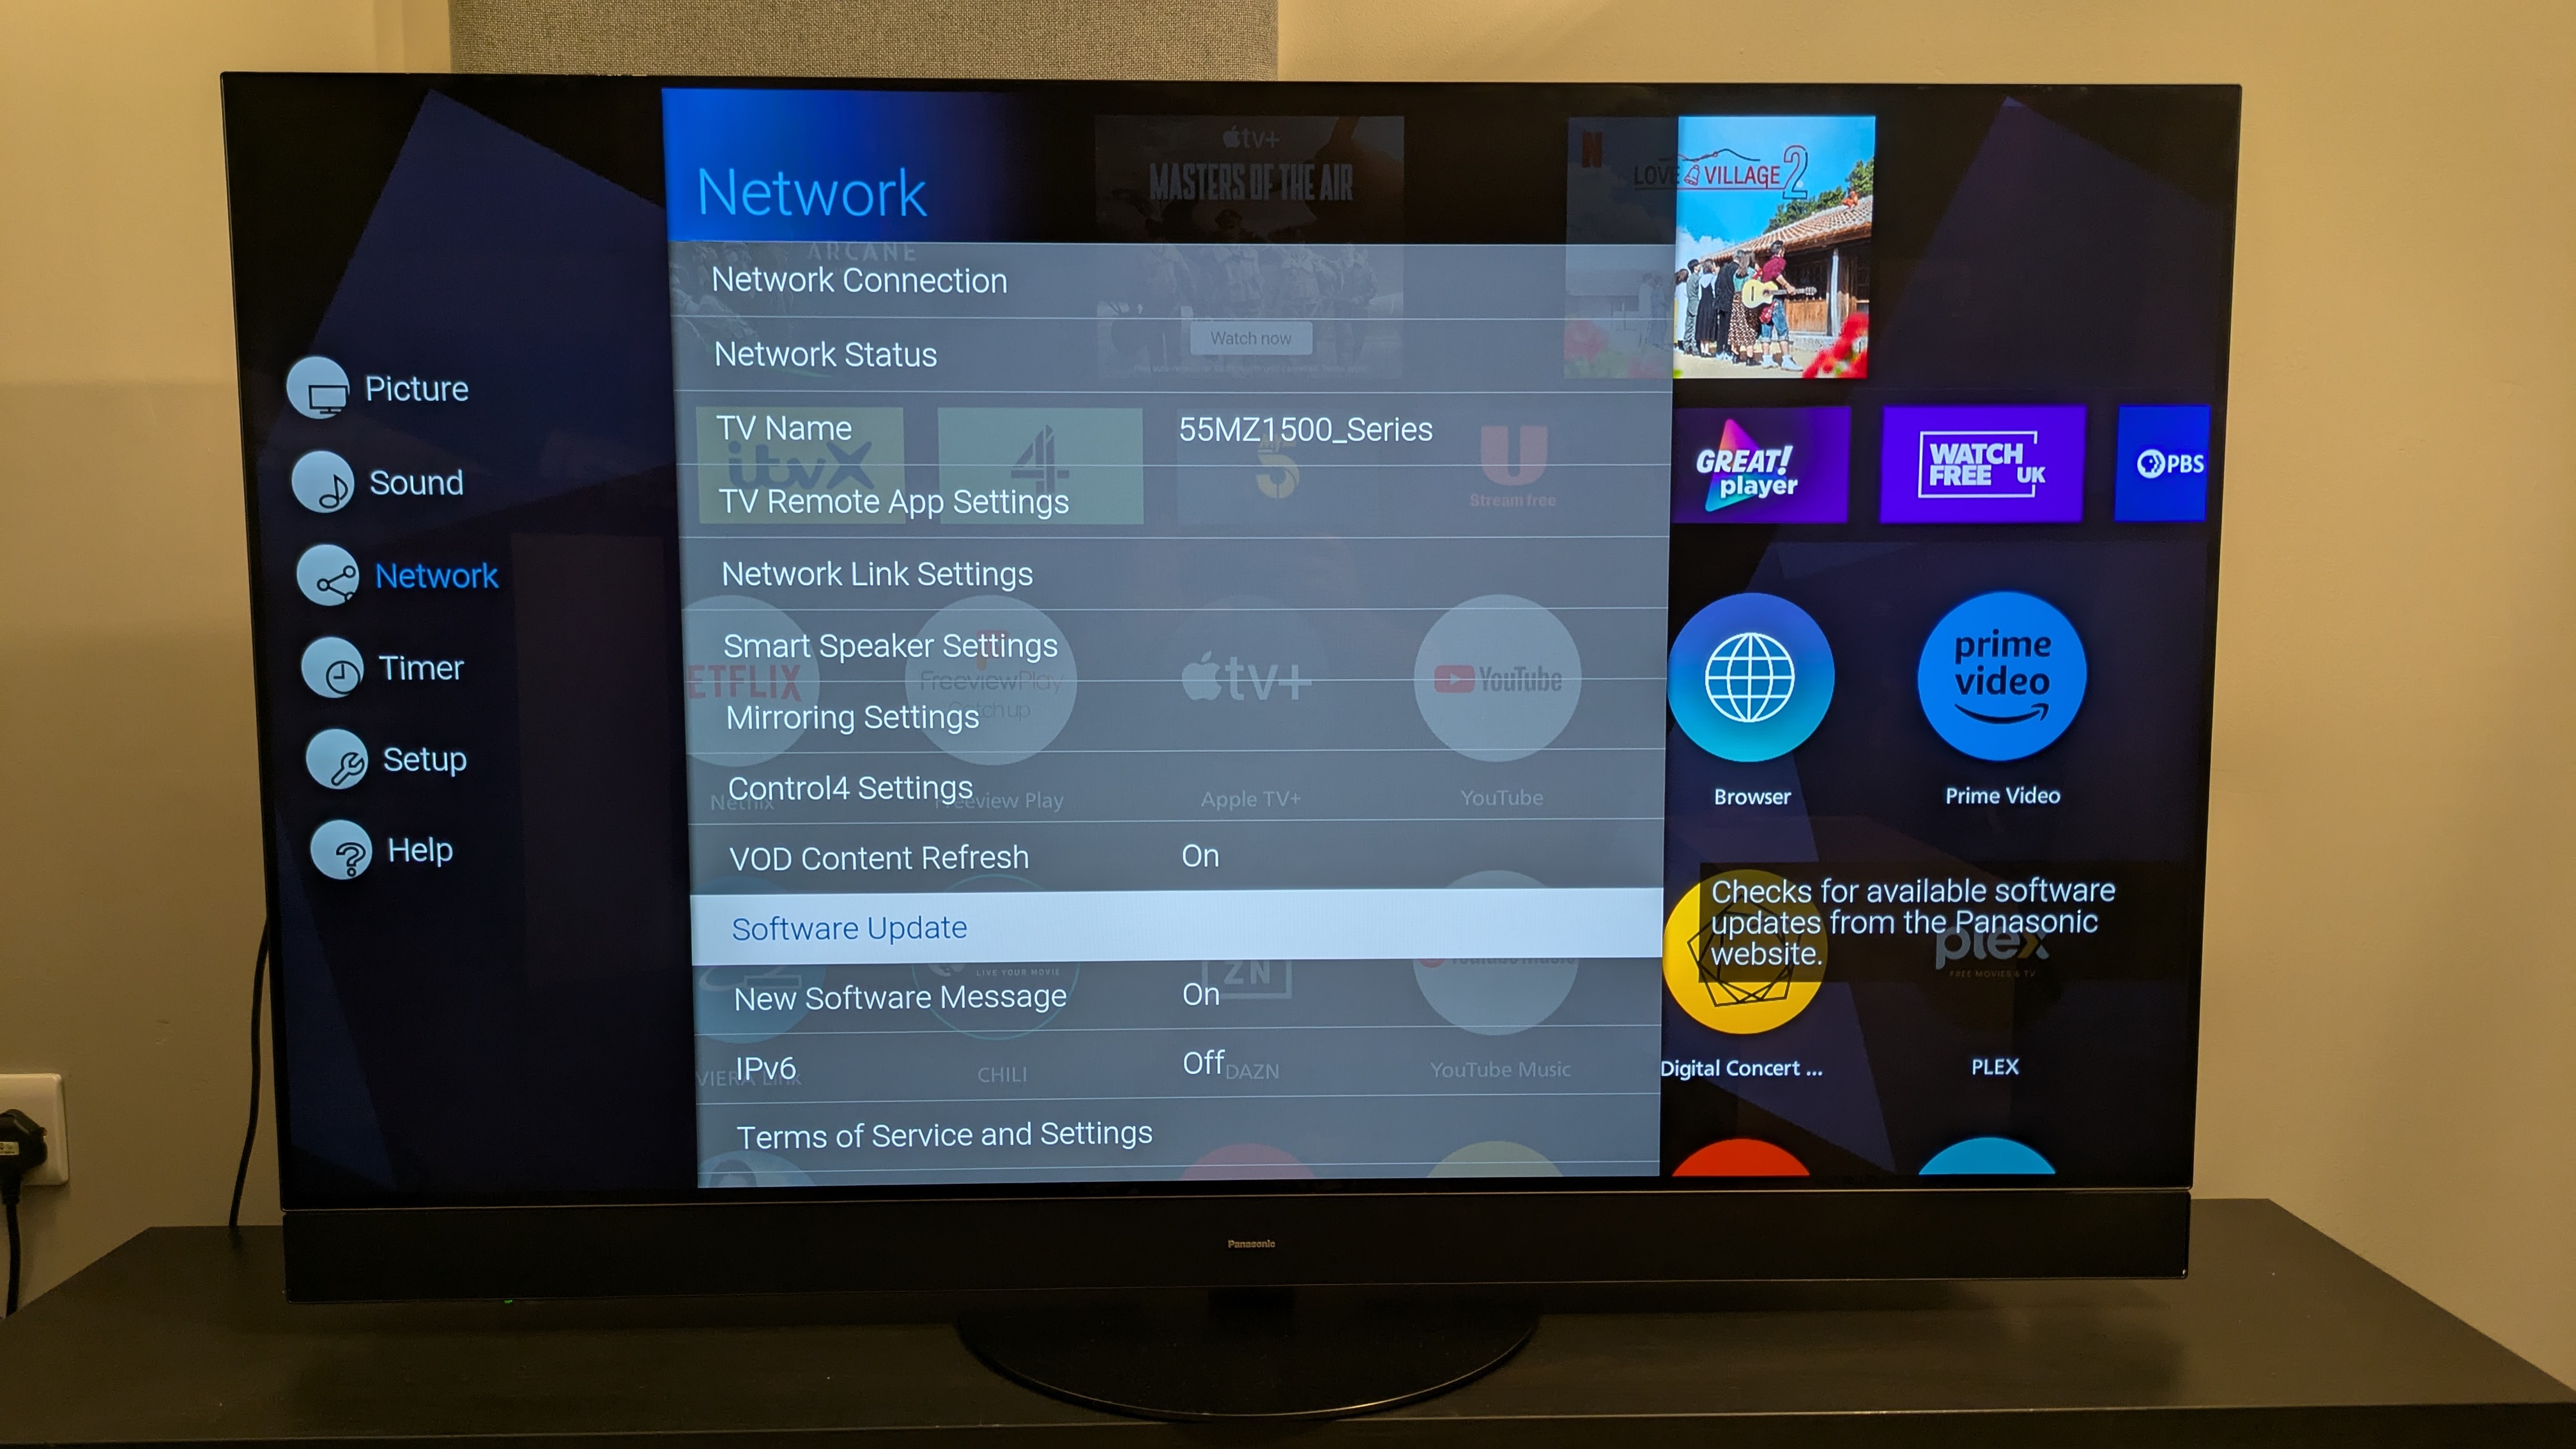
Many TVs will automatically look for the most recent software update when you set them up initially. However, based on my tests, sometimes they do not do this, which is why I personally make sure to check for updates every time just to be safe.
Why is a software update crucial? Besides ensuring you get access to new functionalities—since popular smart TV systems such as Roku, webOS, Tizen, Google TV, among others, offer frequent complimentary updates—it’s essential for safeguarding your television. Given that your TV connects to the internet, it faces various risks; however, keeping the software up-to-date significantly minimizes these vulnerabilities.
To accomplish this, head back to your TV’s System Settings. Fortunately, most manufacturers label this option as ‘Check for Updates’ or ‘Software Update.’ Occasionally, though, you might find this feature under the About TV section; however, this isn’t consistent across all models.
Adjusting or turning off motion smoothing
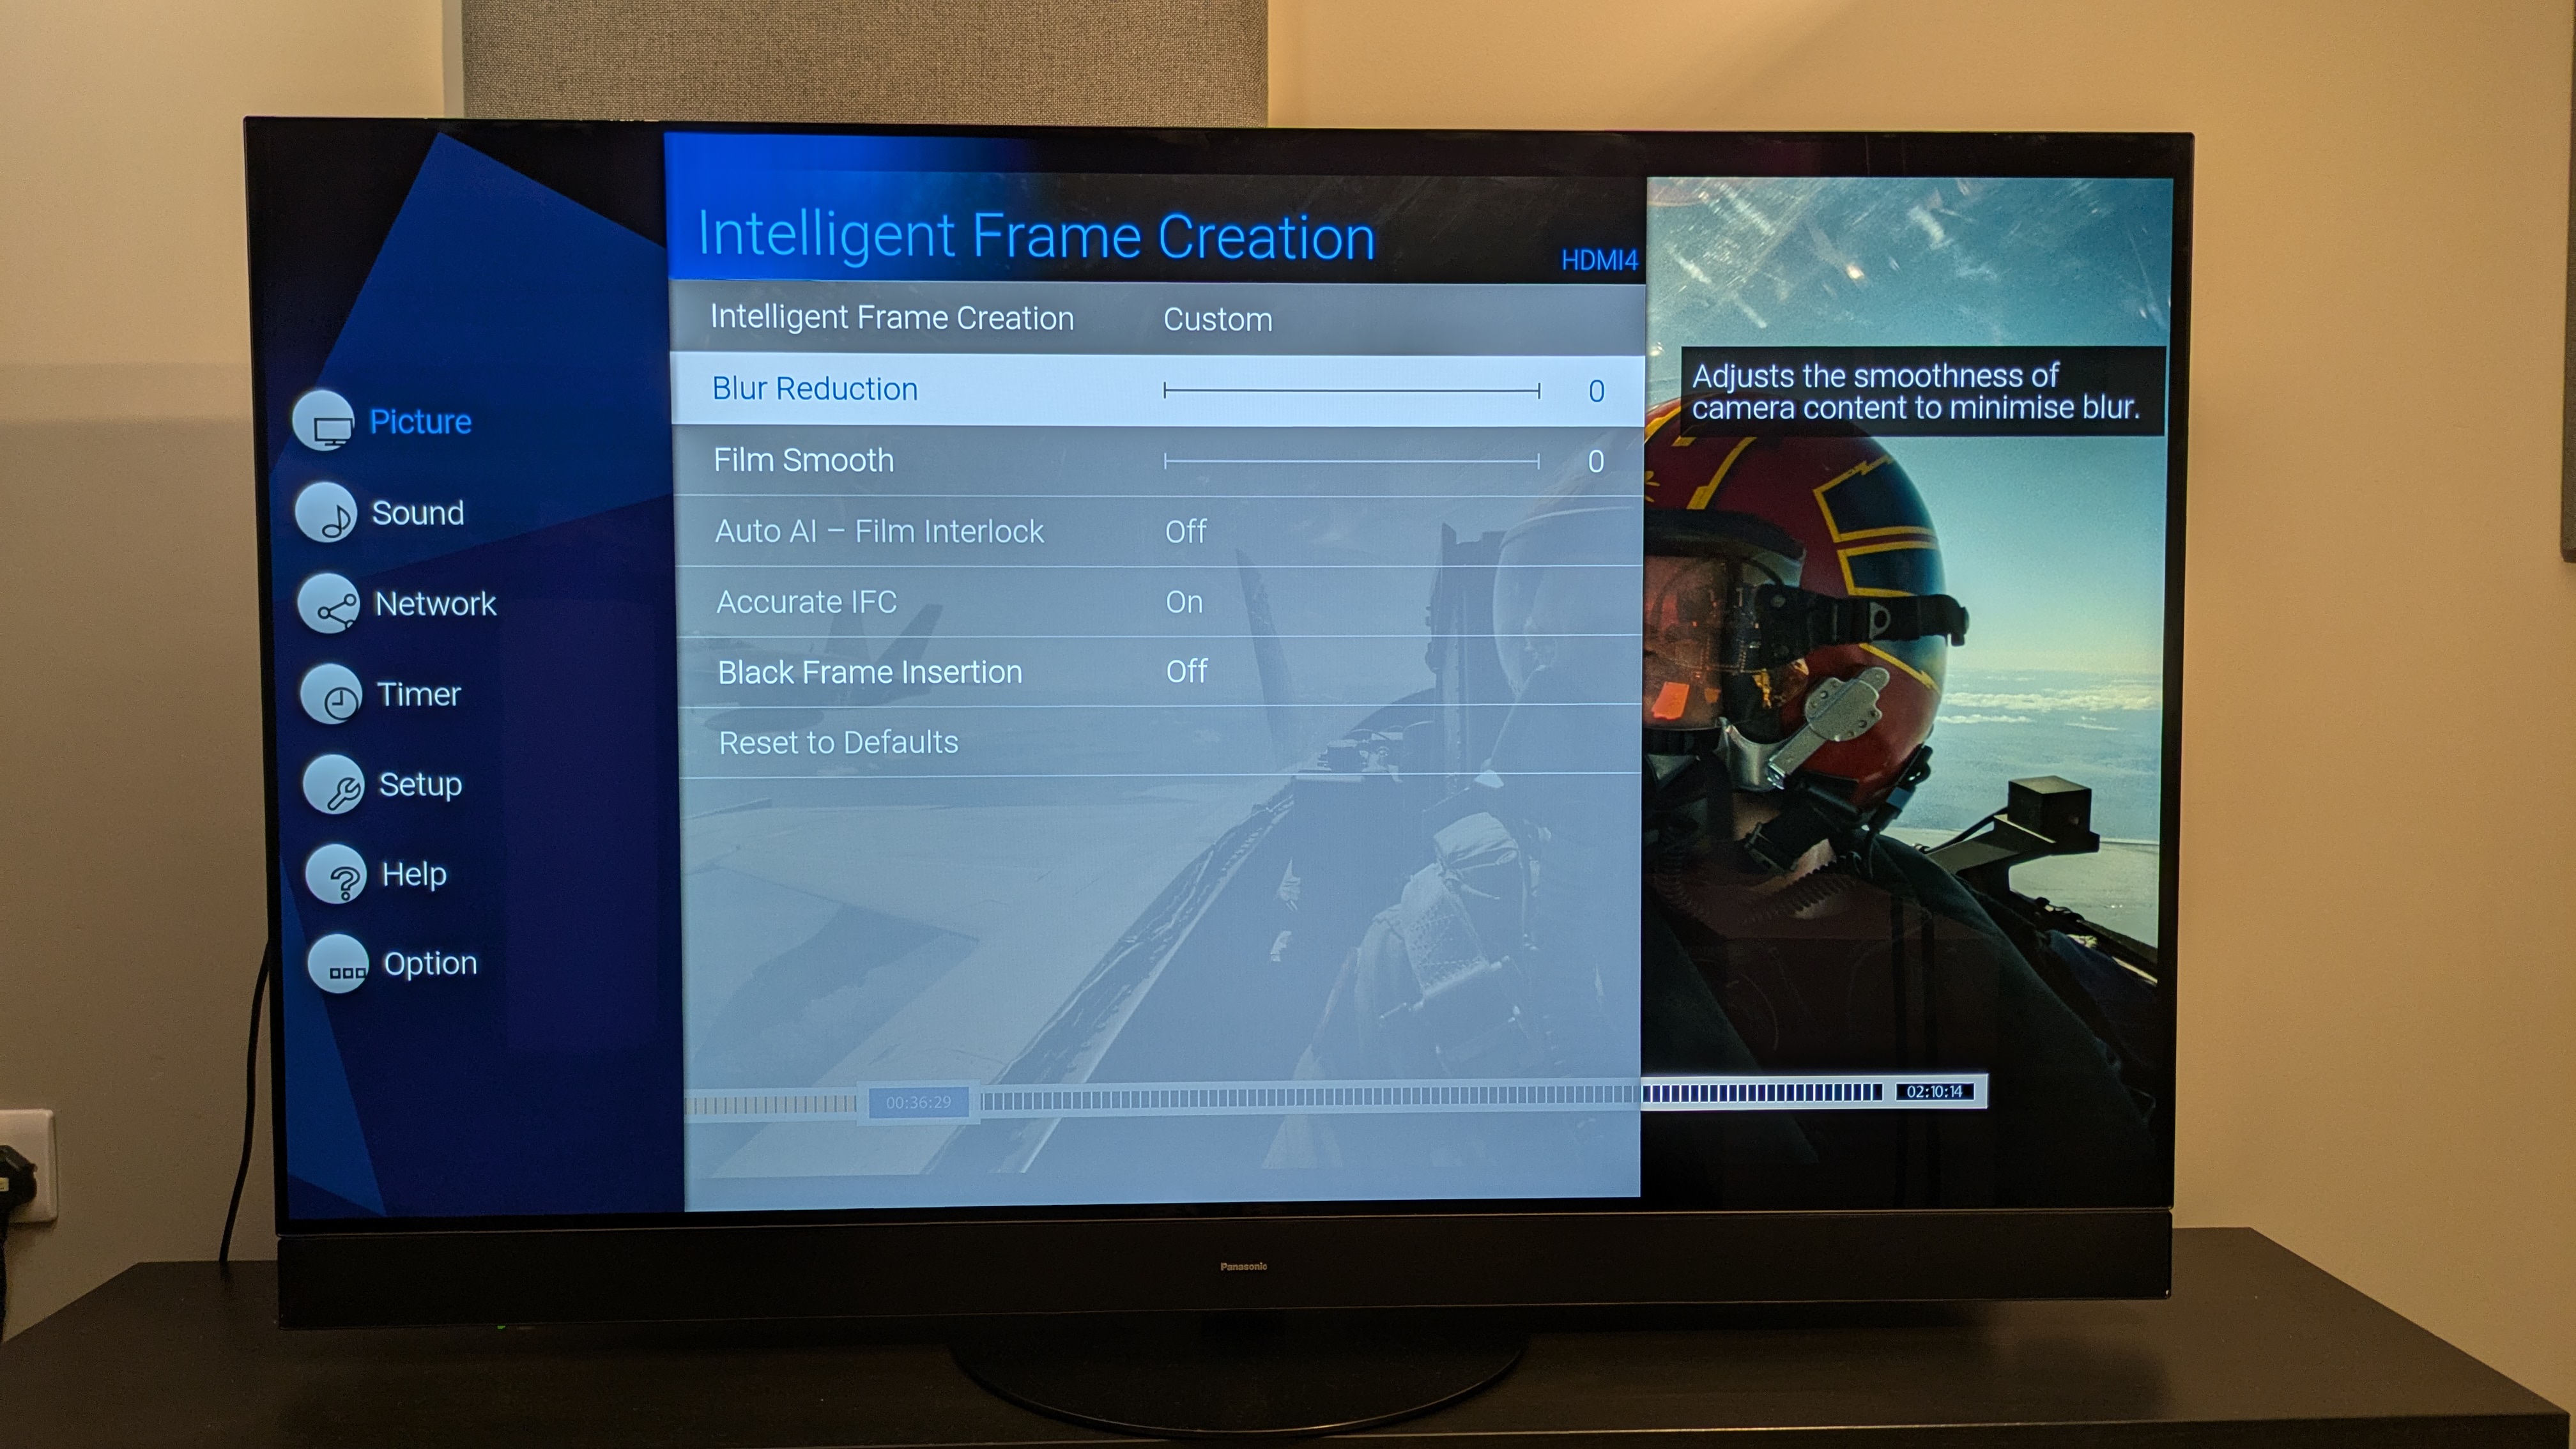
One of the most contentious features on televisions today is likely motion smoothing or motion interpolation. This technology processes rapid movements within videos by reducing blurriness and jittering, thereby making the visuals appear more fluid. The television accomplishes this by examining the video feed and inserting additional frames between the original ones to account for swiftly moving objects—for instance, a ball during a football match.
Although motion smoothing can be beneficial for sporting events, it frequently renders movies overly smooth, imparting them with an unnatural appearance that might cause some viewers to experience dizziness. Tom Cruise specifically requested audiences to disable motion smoothing when watching his films.
Top Gun: Maverick
As it spoiled the overall appearance of the film. And since I frequently use that movie to evaluate TVs, I concur!
As mentioned earlier, budget televisions and models equipped with 60Hz panels may have difficulty displaying rapid-action scenes and sporting events; thus, incorporating some form of motion smoothing could be beneficial. If you wish to adjust or disable this feature, navigate to your Picture Settings menu and locate the Motion subsection. Within that section, you will typically discover adjustable settings such as customized Blur Reduction and Judder Reduction controls alongside predefined motion smoothing options similar to those available on the
Hisense U7N
Depending on your preference, you may choose to decrease motion smoothing or disable it entirely for a more authentic viewing experience. The degree of these adjustments might vary based on whether you’re watching a film or sporting events.
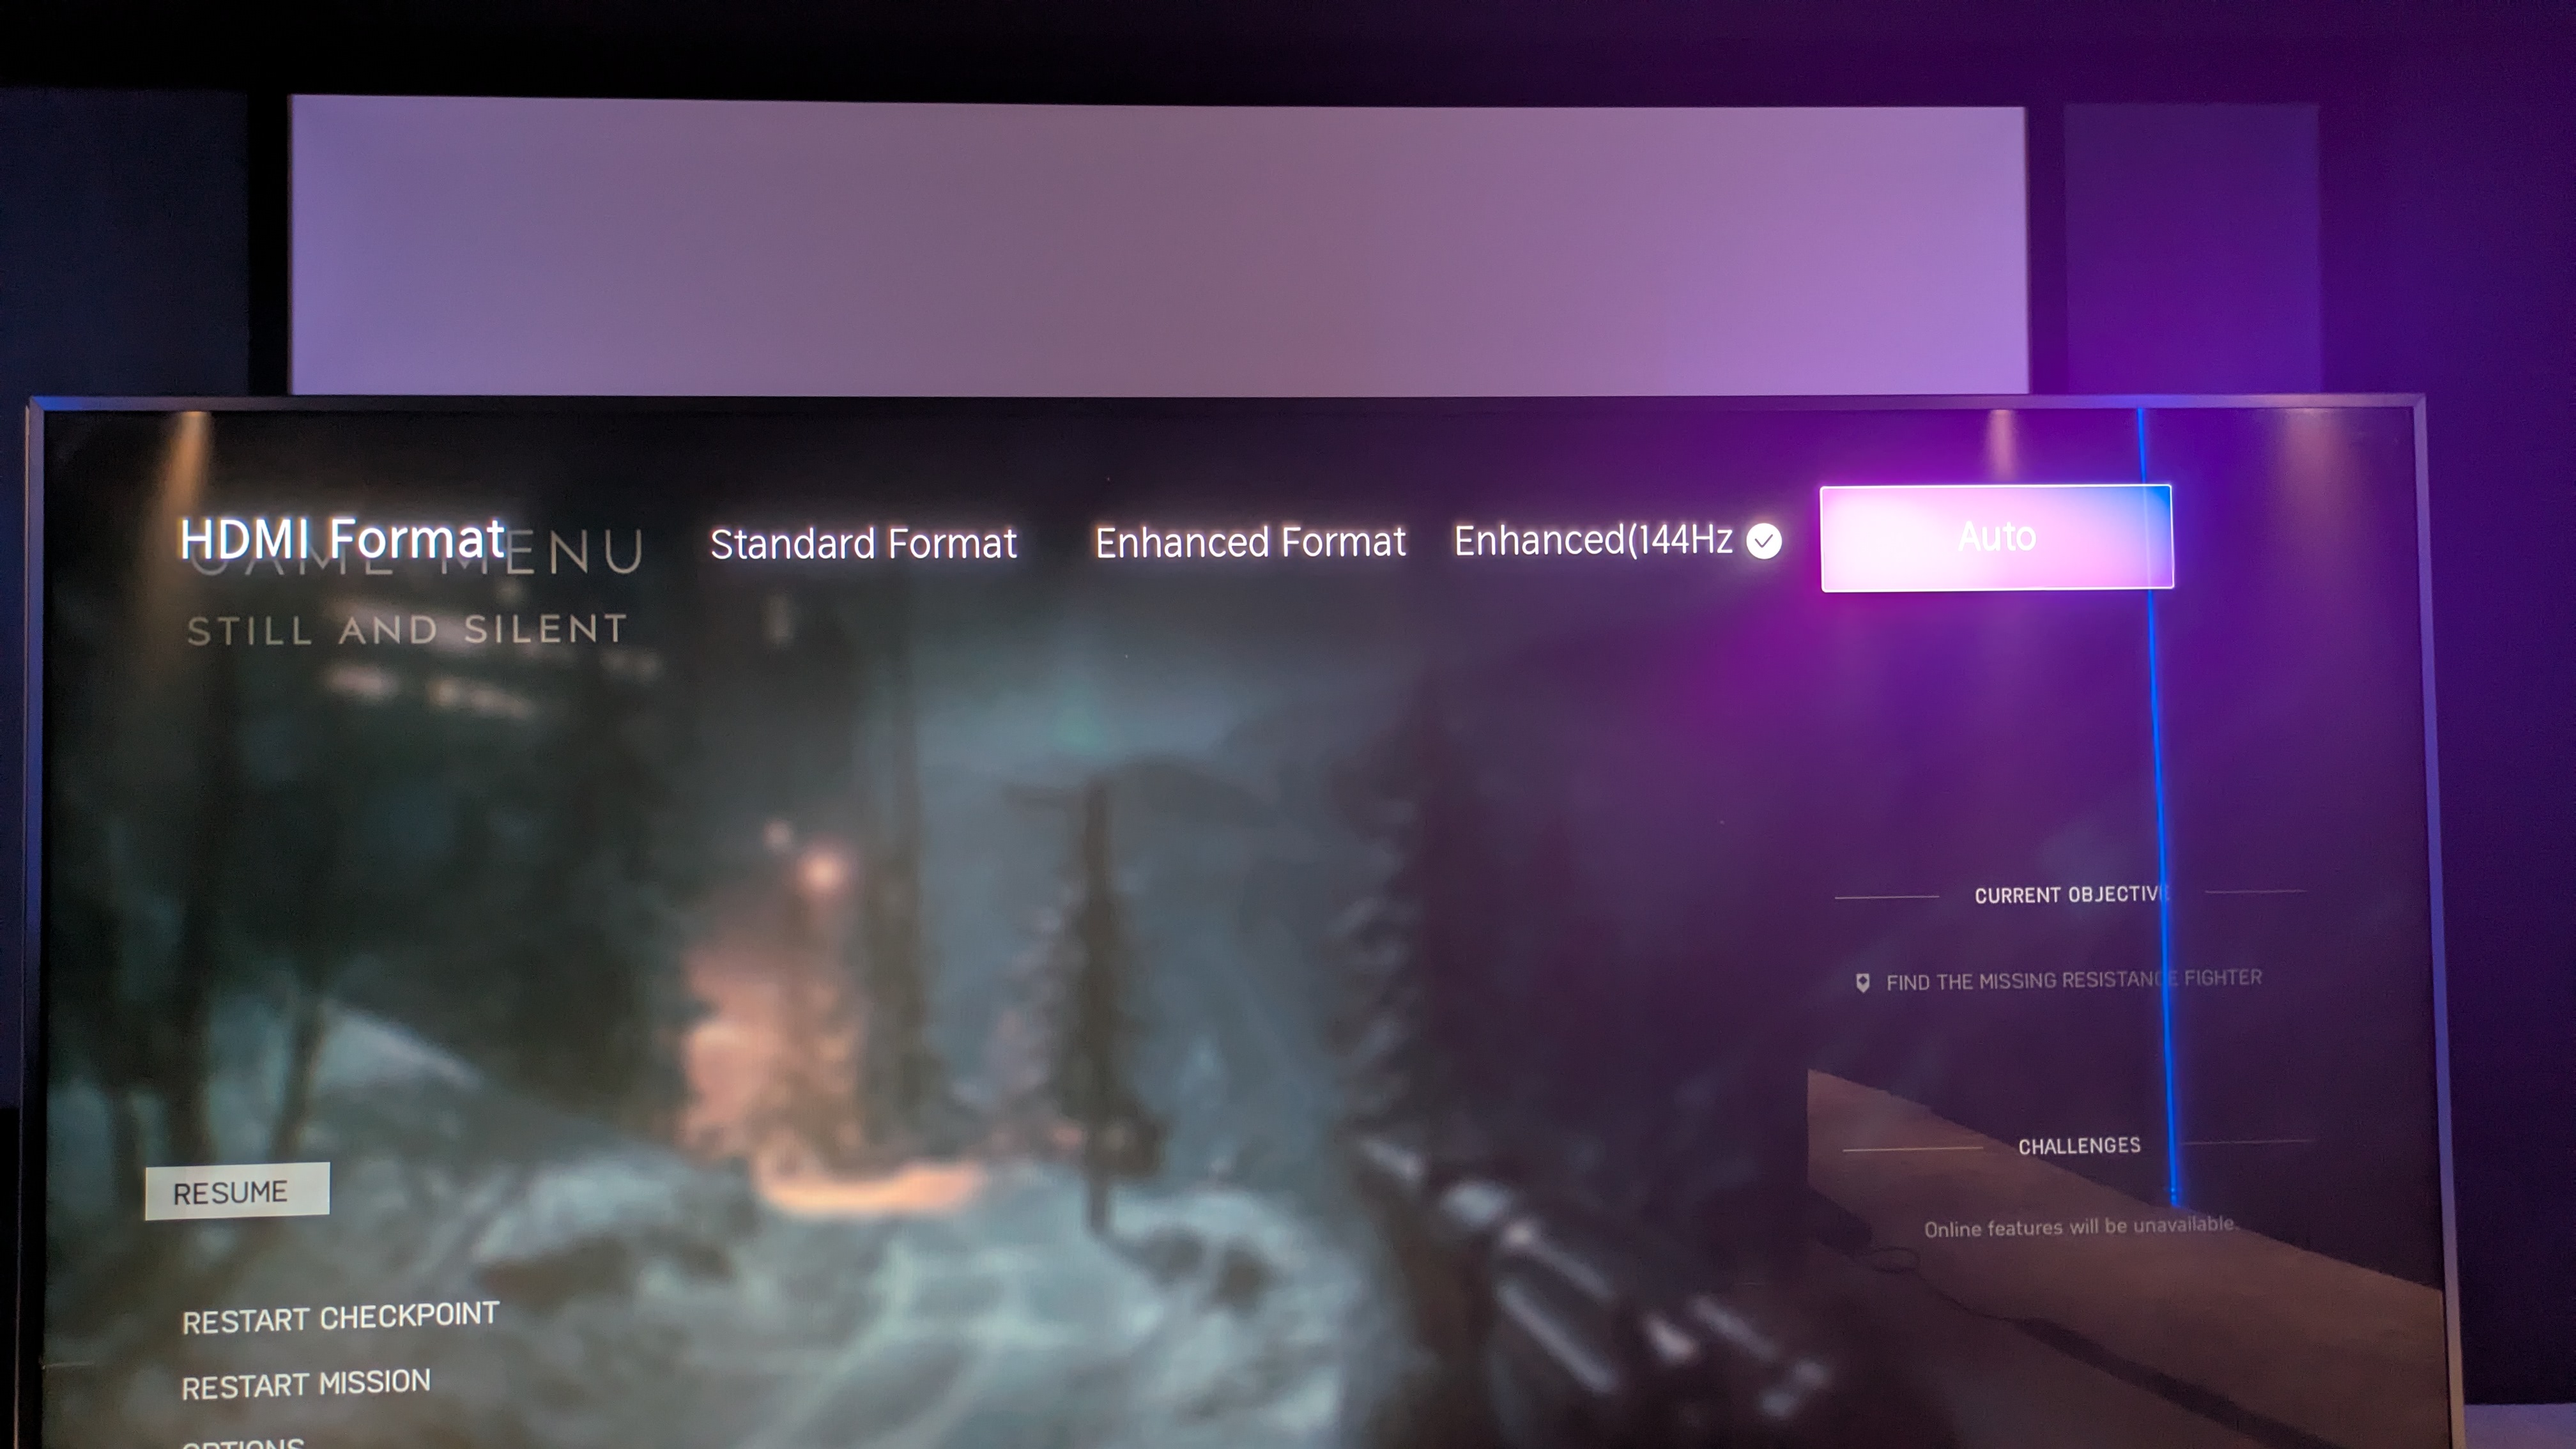
Configure HDMI settings to ‘Enhanced’ mode for gaming.
If you’ve purchased one of the
best gaming TVs
When you look for it, you’ll see it includes a Game Mode, which could be either a specific picture setting or an adjustable option within the settings menu. However, even after enabling this feature, you might discover that you aren’t achieving the complete 4K at 120Hz experience as anticipated, particularly with TVs such as the
LG C4
.
Even though Game Mode stops this problem, there is a crucial HDMI option frequently overlooked. Navigate to Settings and find HDMI Control. Select that option, and you will likely encounter choices such as Standard, Enhanced, along with potential others. Setting it to Enhanced ought to enable your TV’s HDMI 2.1 functionalities, like 4K at 120Hz. Typically, this applies more commonly to less recent television models; however, it remains unpredictable.
Verify sharpness, enhance colors, and boost details
The last set of adjustments to review are largely based on individual preference rather than essential modifications. When you delve into your television’s picture options, you might come across features designed to boost colors, clarity, definition, among others. While some viewers appreciate these enhancements, often enough, they can detract from the overall quality of your TV’s display.
An instance of this is the Super Resolution function available on Hisense televisions like the Hisense U6N. When enabled, this feature tends to make textures and details appear excessively sharp and somewhat artificial. However, this is merely illustrative; most television manufacturers include similar settings that can result in images looking overly enhanced.
In the pictures of the MZ1500 shown above, you can observe thatNoise Reduction andResolution Remaster are activatedinDynamic mode, whichisthe least precise option,and deactivatedinFilmmakermode,whichisthe mostaccurate setting.
Although you might enjoy several of these settings, it’s advisable to choose one preferred ‘basic’ picture preset and experiment with adjustments until you achieve an image you feel most at ease with.
You might also like
-
Enhance your television’s display quality
Purchased a new 4K TV during Black Friday? Follow these steps to optimize your picture quality. -
Set up your Dolby Atmos system correctly.
How to set up a Dolby Atmos home theater system -
How SofTech evaluates TV sets
– our testing process for TVs here at SofTech